Create plans with Intuit Tax Advisor
by Intuit•9• Updated 2 months ago
This article will help you create plans and reports in Intuit Tax Advisor based on your clients' individual returns in Lacerte or ProConnect Tax.
To learn more about Intuit Tax Advisor, click here.
Table of contents:
To start your first plan
![]() If you use Lacerte, you'll need to sync tax return data first. We'll walk you through it.
If you use Lacerte, you'll need to sync tax return data first. We'll walk you through it.
- Sign in to Intuit Tax Advisor with the username and password you use for your tax program.
- If you've used other Intuit Accountants products before, you may see a list of firms. Select the account that you use for Lacerte or ProConnect Tax.
- Press Create tax plan.
- Select the client you're planning for.
- If you use Lacerte, the individual clients you've synced to the cloud will show here.
- If you use ProConnect Tax, the active clients you have an individual return for that you normally see in ProConnect Tax will be listed.
- Choose the tax return you want to base the plan on, then press Next.

Changing the baseline
Select the Pre-strategy baseline tab, where you can review the Actual amounts imported from the return, and make changes to the Baseline column.
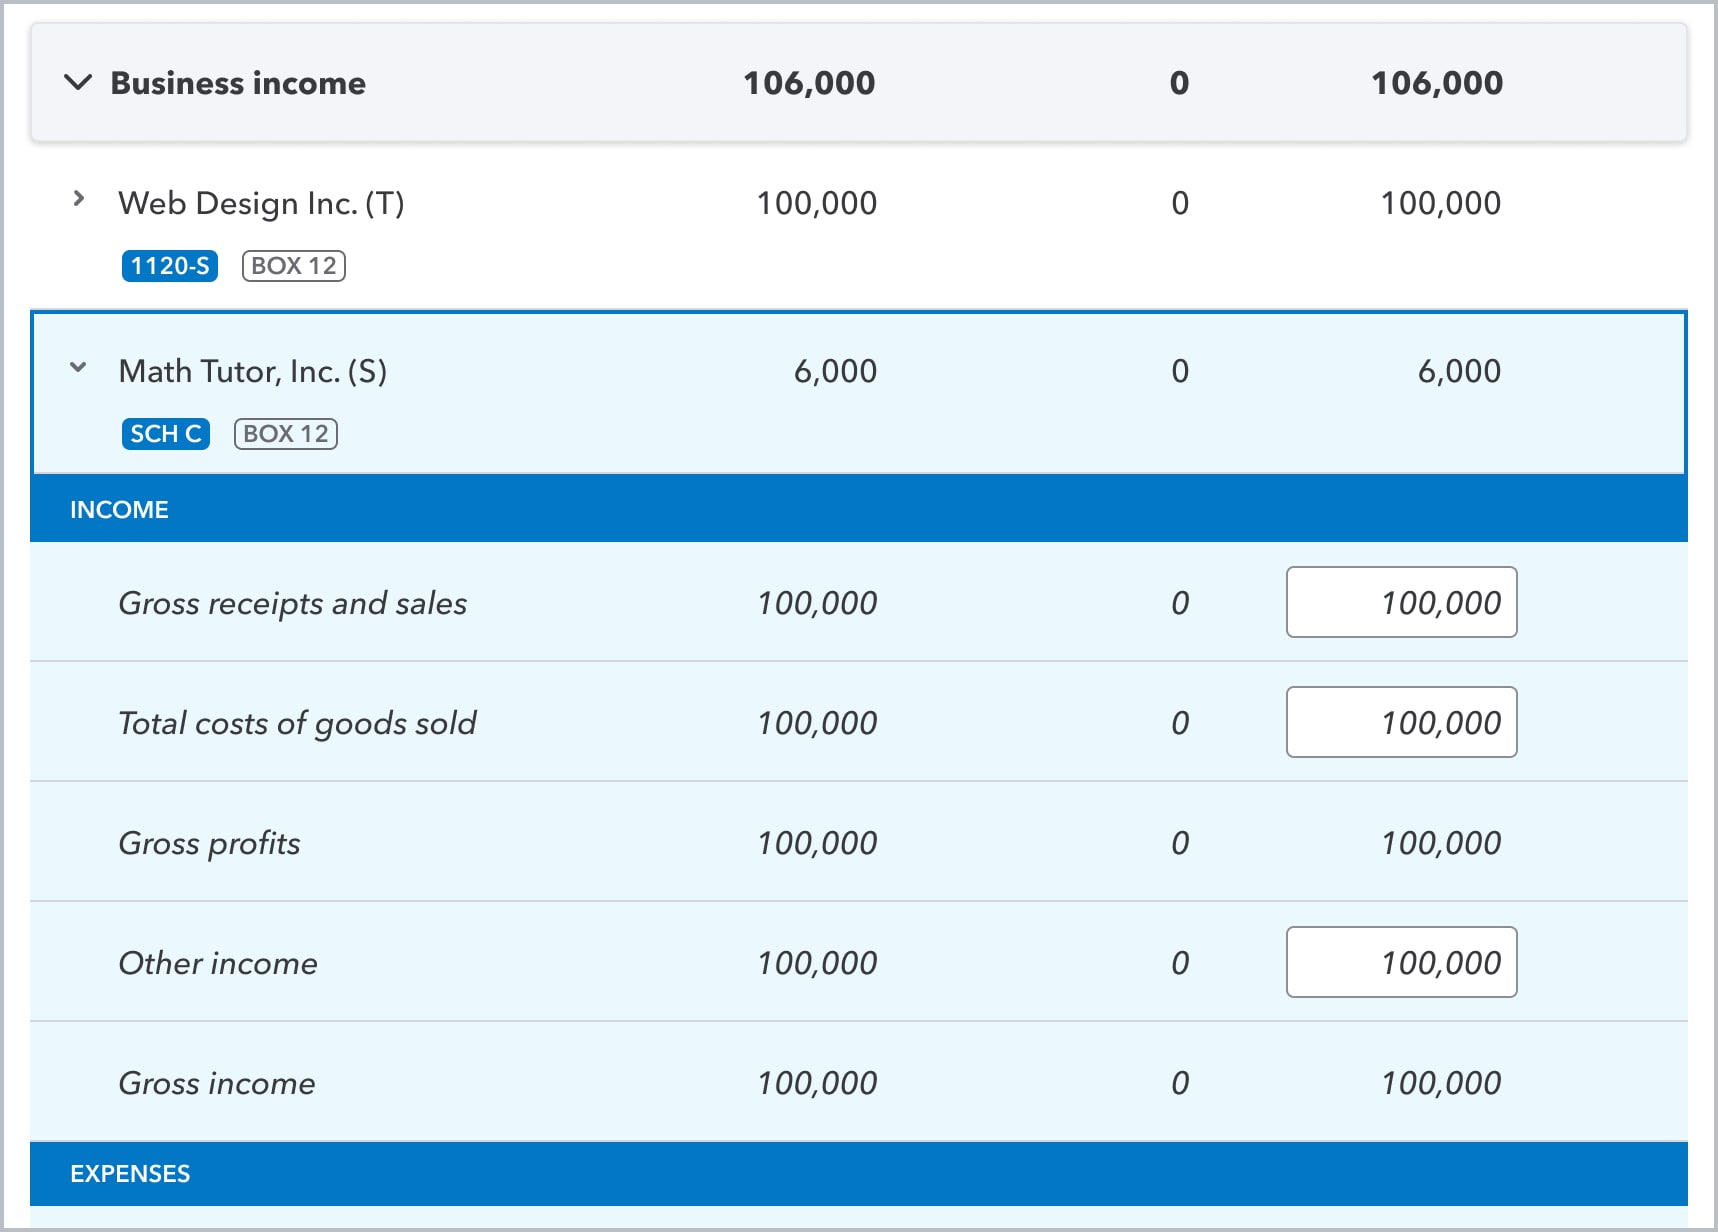
This is where you can make changes based on what you know is already going to be different for the year—like a raise your client received, or a capital loss. The baseline amounts and activities will be used to determine which insights and strategies apply to your client. Click into any line item to see and edit details.
- Intuit Tax Advisor will automatically calculate certain year-over-year differences, like the deduction for self-employment tax, based on next year's rates.

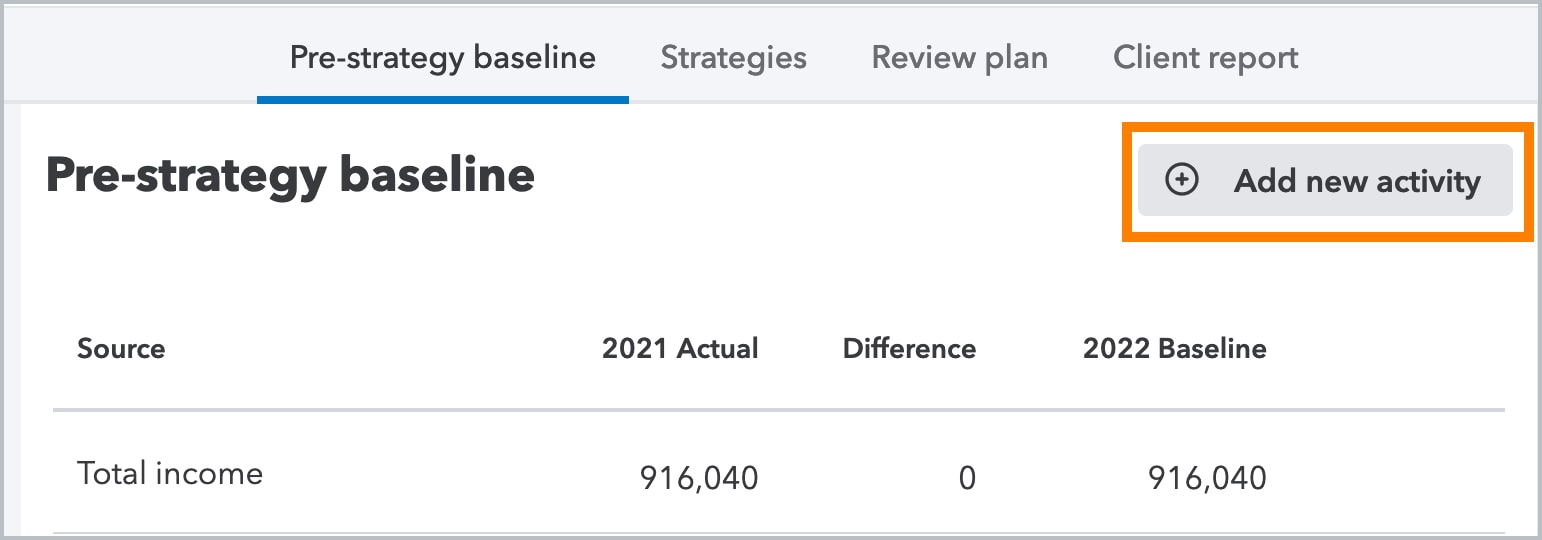
Add new activities
You can also add new lines here to account for jobs, businesses, or K-1s that weren't present in last year's return:

Filter Pre-strategy baseline
The pre-strategy baseline filter will let you filter the baseline by Federal or Resident State.

Apply insights and strategies
Once you've set the Baseline amounts, head to the Strategies tab to review any Insights that we think your client may benefit from.
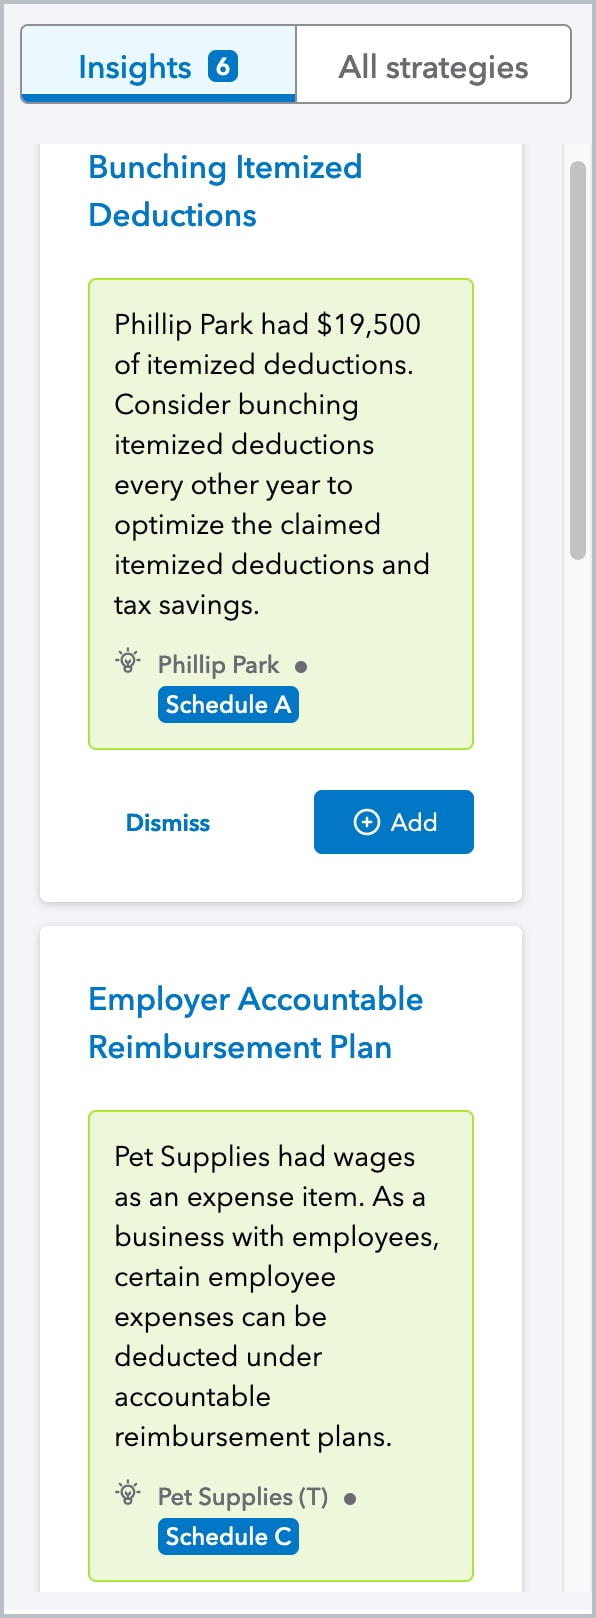
- Click on the insight's name to view details.
- Tap Add to apply the strategy to this return.
- Or press Dismiss to hide the strategy from the Insights list. If you change your mind, you can always find it later under All strategies.
- Select All strategies to view a full list.

Customize list view for Strategies
To customize the list of Strategies that you see:
- Select the
 gear icon next to the search box
 - Select or deselect the
 icon to hide or show the Custom, Default or Archived strategies

Review Plan
Review plan is where you will see any tax strategy savings that you've entered or changes made to the pre-strategy baseline. Here you are able to toggle strategies on or off, filter by federal/resident state/strategies. You will also be able to make adjustments before going to the reports.

View and print client reports
After you review the plan, head to the Client Report tab to preview the documents generated for your client.

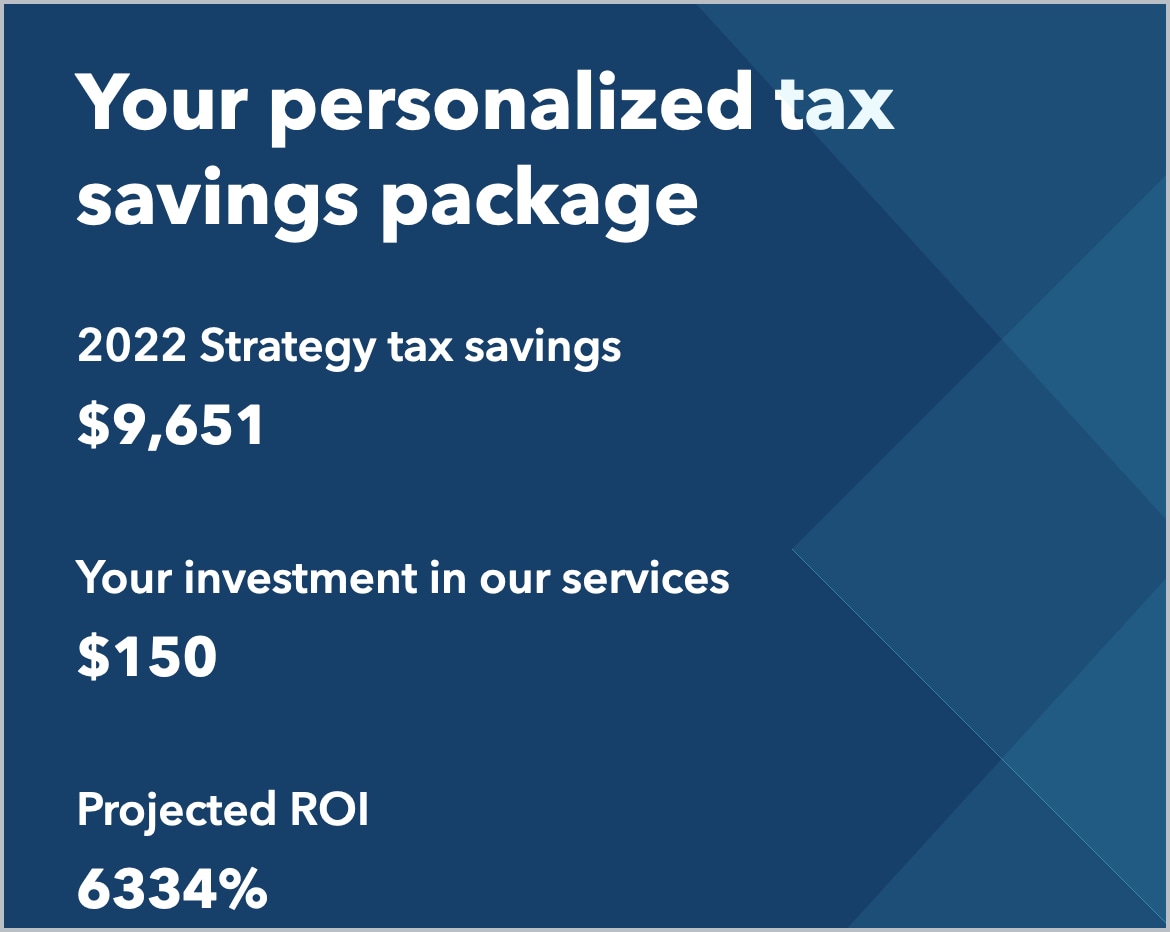
Services proposal
The proposal is a short summary of the value you can provide to your client through advisory planning:

Tax plan
The Tax Savings Plan is a detailed report you can provide to your client with information about specific tax savings strategies and next steps to take.

Customize Reports
To customize your report style tap  in the top right.
- Report Settings will apply to all reports for your firm and will allow you to add a logo, choose a default color theme, or add a custom one.
- To change the Default theme:
- Select Report settings
- Hover over the Default theme you want to change
- Click the pencil icon to edit it.
- The Customize theme colors will pop-up.
- Select the down arrow next to Base, Accent, or Charts to set the color.
- Click Save settings when done.
- Note: Default themes aren't able to be deleted.
- To add a custom color theme:
- Select the gray box with the +
 .
. - Customize theme colors will pop-up.
- Select the down arrow next to Base, Accent, or Charts to set the color or opaqueness with the Hue or Opacity slider and then move the circle to refine the shade.
- If the desired color code or opacity is known, this may be entered in the Hex and Opacity boxes.
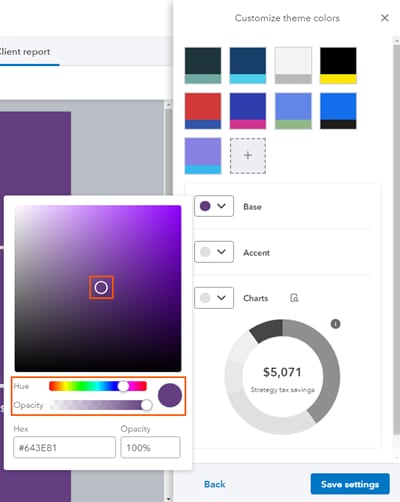
- If the desired color code or opacity is known, this may be entered in the Hex and Opacity boxes.
- Tap Save settings when done.
- Select the gray box with the +
- To change the Default theme:
To further customize your reports, hover over the report content, if a pencil appears click it to be taken to the section in the Report Navigation to edit it (or tap the  icon in the upper left to expand the Report Navigation menu). The Report Navigation menu lets you edit
 ![]() , hide
, hide ![]() , or reorder by dragging
, or reorder by dragging ![]() content where these icons are available and labels sections that will apply to all of your firm's reports as Global.
content where these icons are available and labels sections that will apply to all of your firm's reports as Global.

Save or print reports
Use the Download icon  at the top right of your screen on the Client report tab to generate a PDF to save. After saving the PDF, you can open the PDF to print it. Keep in mind that the report is designed to be provided electronically. If you intend to print to paper, you may wish to change your color theme.

Add, Edit or Delete Notes on a Plan
Notes are available in all sections of the tax plan and can help keep track of changes to the client.
- To add:
- Select View tax plan.
- Tap Notes in the right corner.
- Select + Add note.
- Fill out the title and body of the note.
- Note title is limited to 50 characters including spaces.
- If the title is empty, up to the first 13 characters from the body of the note will become the title.
- Fill out the body of the note to be able to save it.
- The note tool bar will let you format the note or add a picture. To add a picture:
- Tap the image icon and then drop the image in the box or click it to browse to the image's location.
- Images can be PNG, JPEG, or JPG, in size and dimension.
- To edit or delete:
- Select Notes.
- Tap the
 to edit or delete the note.
 - If deleting the note, tap Delete on the confirmation pop-up to delete it.

About Notes:
- Notes are internal and won't be saved in the reports.
- They are created on a per client basis.
- Anyone who has access to the plan can view an existing note; however, only the person who created the note can edit or delete it.
- The most recent notes will be displayed first.
- Selecting the Star icon will show your favorited notes.
- Date/Time displayed on notes will update to the current date/time when edited.

More like this
- Sync your Lacerte clients to Intuit Tax Advisorby Intuit
- Common questions about using Intuit Tax Advisorby Intuit
- Client missing from Intuit Tax Advisor dropdown when creating a planby Intuit
- What Can I Do With Intuit Tax Advisor from Lacerteby Intuit
- Intuit Tax Advisor vs. ProConnect Tax and Lacerte Tax Plannersby Intuit

