This article will help you:
- Activate your Right Networks account.
- Install your tax software into your hosted environment.
- Add additional users to your hosted environment. Additional users will want to follow the steps here to access their hosted environment.
- Run the Right Network Setup Wizard to be able to access the Right Networks environment as well as print, and scan on your local computer.
- Upload program data from the local computer to the Right Networks environment.
- In the event of not being able to run the Setup Wizard: manually setup your Right Networks environment
Getting started using your activation email:
Upon creation of the account you, as the account owner will be sent an activation email. This allows you to establish your Right Networks password, which will allow you to access the Right Networks My Account portal as well as the Right Networks remote environment.

When you click on Activate Your Account and setup a password you will be able to log in to the Right Networks My Account portal.
Adding additional users:- Login to the Right Networks My Account portal.
- Click on the Users tab.
- Click on Add User.
- Fill out the required information and click next.
- Select the Intuit ProConnect Lacerte package or Intuit ProConnect ProSeries package for the software you use.
- Click on Add User.
- Once the user has been invited they will want to follow the steps here to complete their registration and setup.
Assigning your users to a tax package:
Before users can install software they need to be assigned to the package.
- Login to the Right Networks My Account portal.
- Click on the Packages & Add-ons tab.
- Under Packages click on the tax package name.
- Here you will see users already assigned to the tax package.
- Click on the Assign Users to Package button.
- Choose the users that need access.
Add your software to your Right Networks hosted environment:
- Login to your Right Networks My Account portal.
- Click on the Users tab.
- Click on your name.
- Click on the Apps you can install tab.
- On this screen select the year you want to install.
- Click on Install App.
- Once the process has finished, go back to the Apps you can install tab and repeat the process until you have all of the years you need.
Preparing your client data and options to be moved to Right Networks:
If you are using LacerteThis step should be completed prior to running the Setup Wizard. This will prepare your Lacerte data and options to be moved to the hosted environment. You have the option of installing back to tax year 2012 however it is recommended to start with the current tax year and two years prior. This will allow you to setup your environment in a timely matter. You can always add in the prior tax years after the initial setup.
- Click here to download the tool.
- Press CTRL+J to open your Downloads folder.
- Double click on LacerteArchiver.exe
- Enter the two-digit tax year for a single year archive. Press CTRL+Z if you want every year.
- Wait for the archiver to finish.
- Press Enter to exit when prompted.
- Repeat steps 3-6 for each additional year you are moving.
If you are using ProSeriesThis step should be completed prior to running the Setup Wizard. This will prepare your ProSeries data and options to be moved to the hosted environment. You have the option of installing back to tax year 2013 however it is recommended to start with the current tax year and two years prior. This will allow you to setup your environment in a timely matter. You can always add in the prior tax years after the initial setup.
- On your desktop computer navigate to your Data folder.
- For ProSeries Stand Alone installations the default location is C:ProWinYYYYData (where YY is the tax year).
- For ProSeries Network Installations the default location is X:ProNetYYYYData (where YY is the tax year and X is your network drive).
- Right click on the YYData folder and choose Send To then Compressed (zipped) folder.
- This will then make a copy of the data folder as a Zipped file.
- Repeat the process for each tax year you are moving to Right Networks.
Running the Right Networks Setup Wizard:
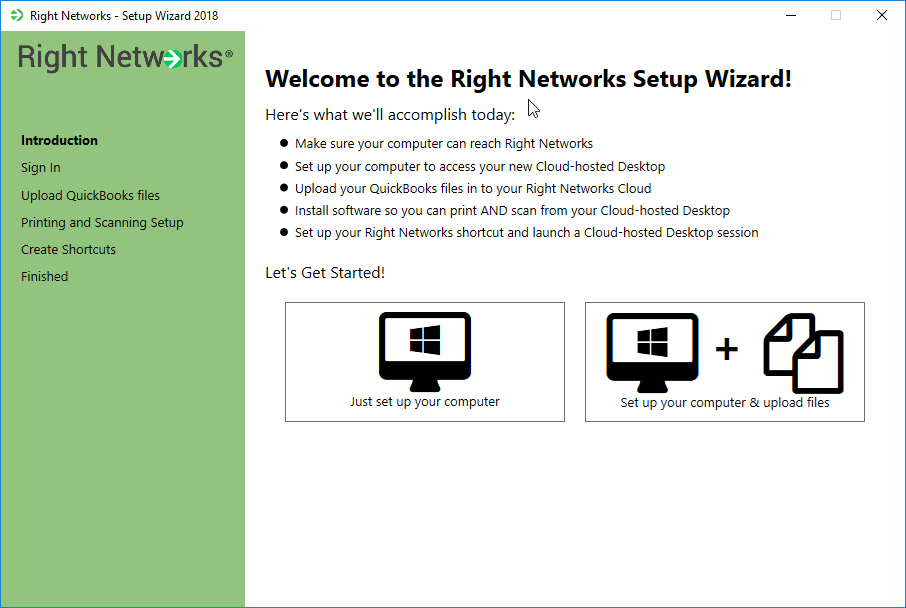
The Right Networks Setup Wizard is designed to make setting up your computer a simple and user-friendly effort.
If you are using a Windows computer If you are using a MacThe Right Networks Setup Wizard is designed to make setting up your computer a simple and user-friendly effort.
The Setup Wizard will perform the following tasks:
- Guide you to the Apple App Store to download the free Microsoft Remote Desktop software.
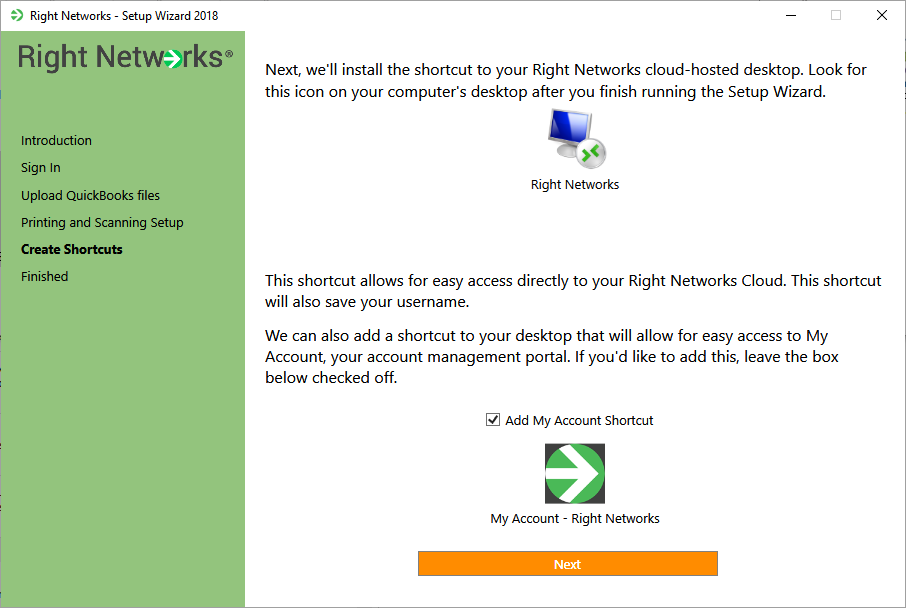
- Create a login shortcut for you to access the Right Networks environment, which will appear within the Remote Desktop window when the app is launched.
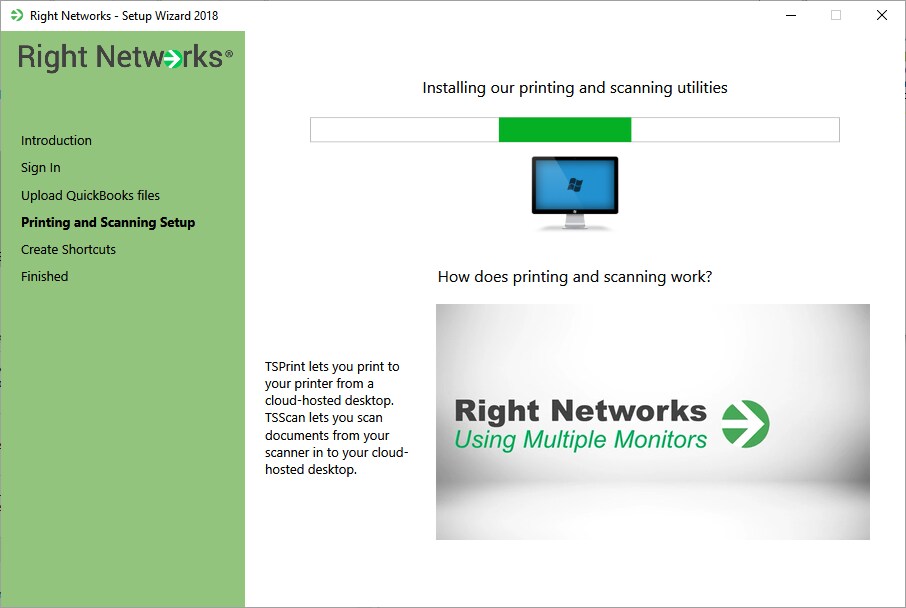
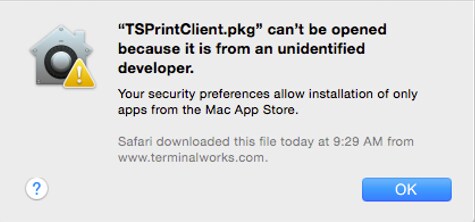
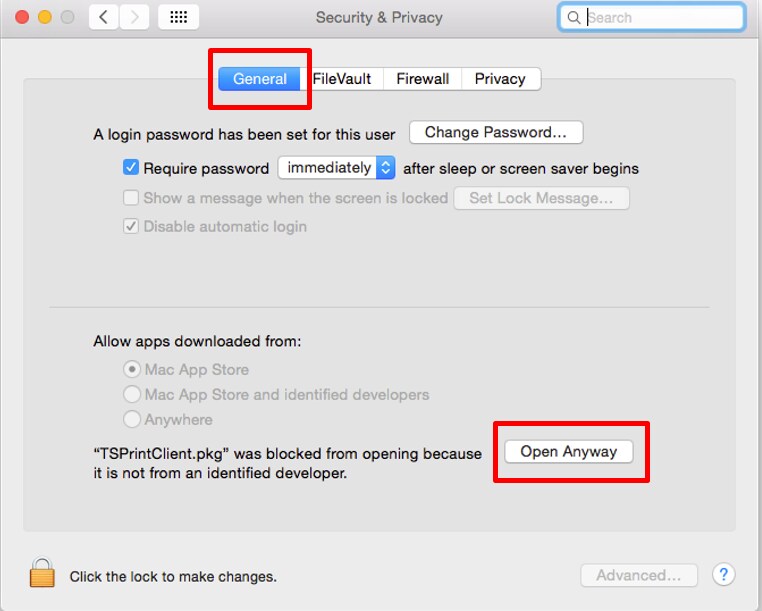
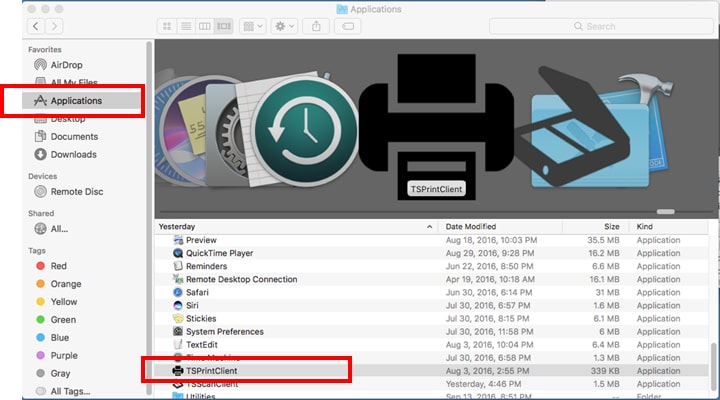
- Install the TSPrint Client on your local computer, allowing you to print documents from the remote session to your local printer.
- Install the TSScan Client on your local computer, allowing you to scan documents from the local scanner into the remote session.
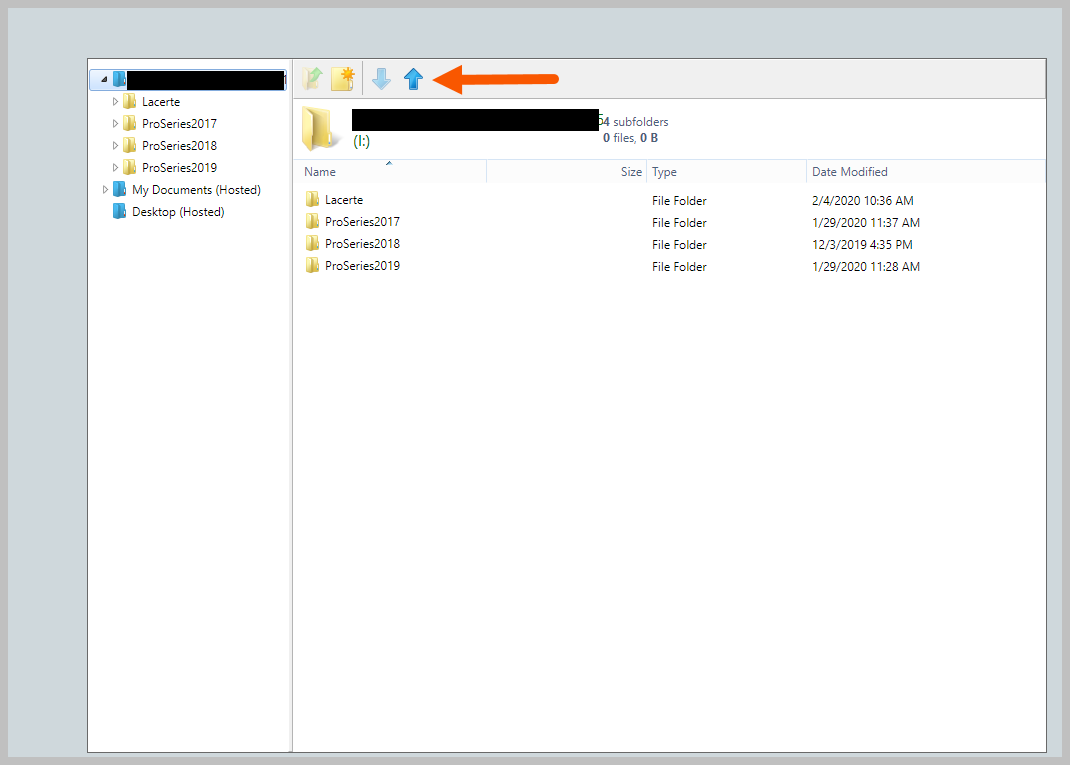
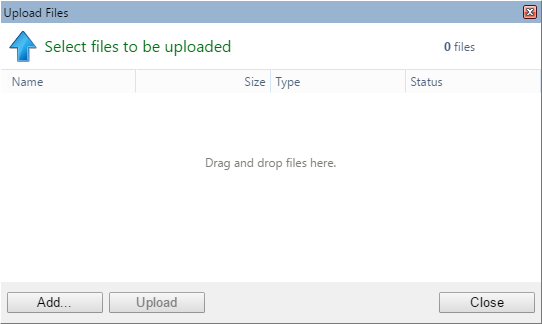
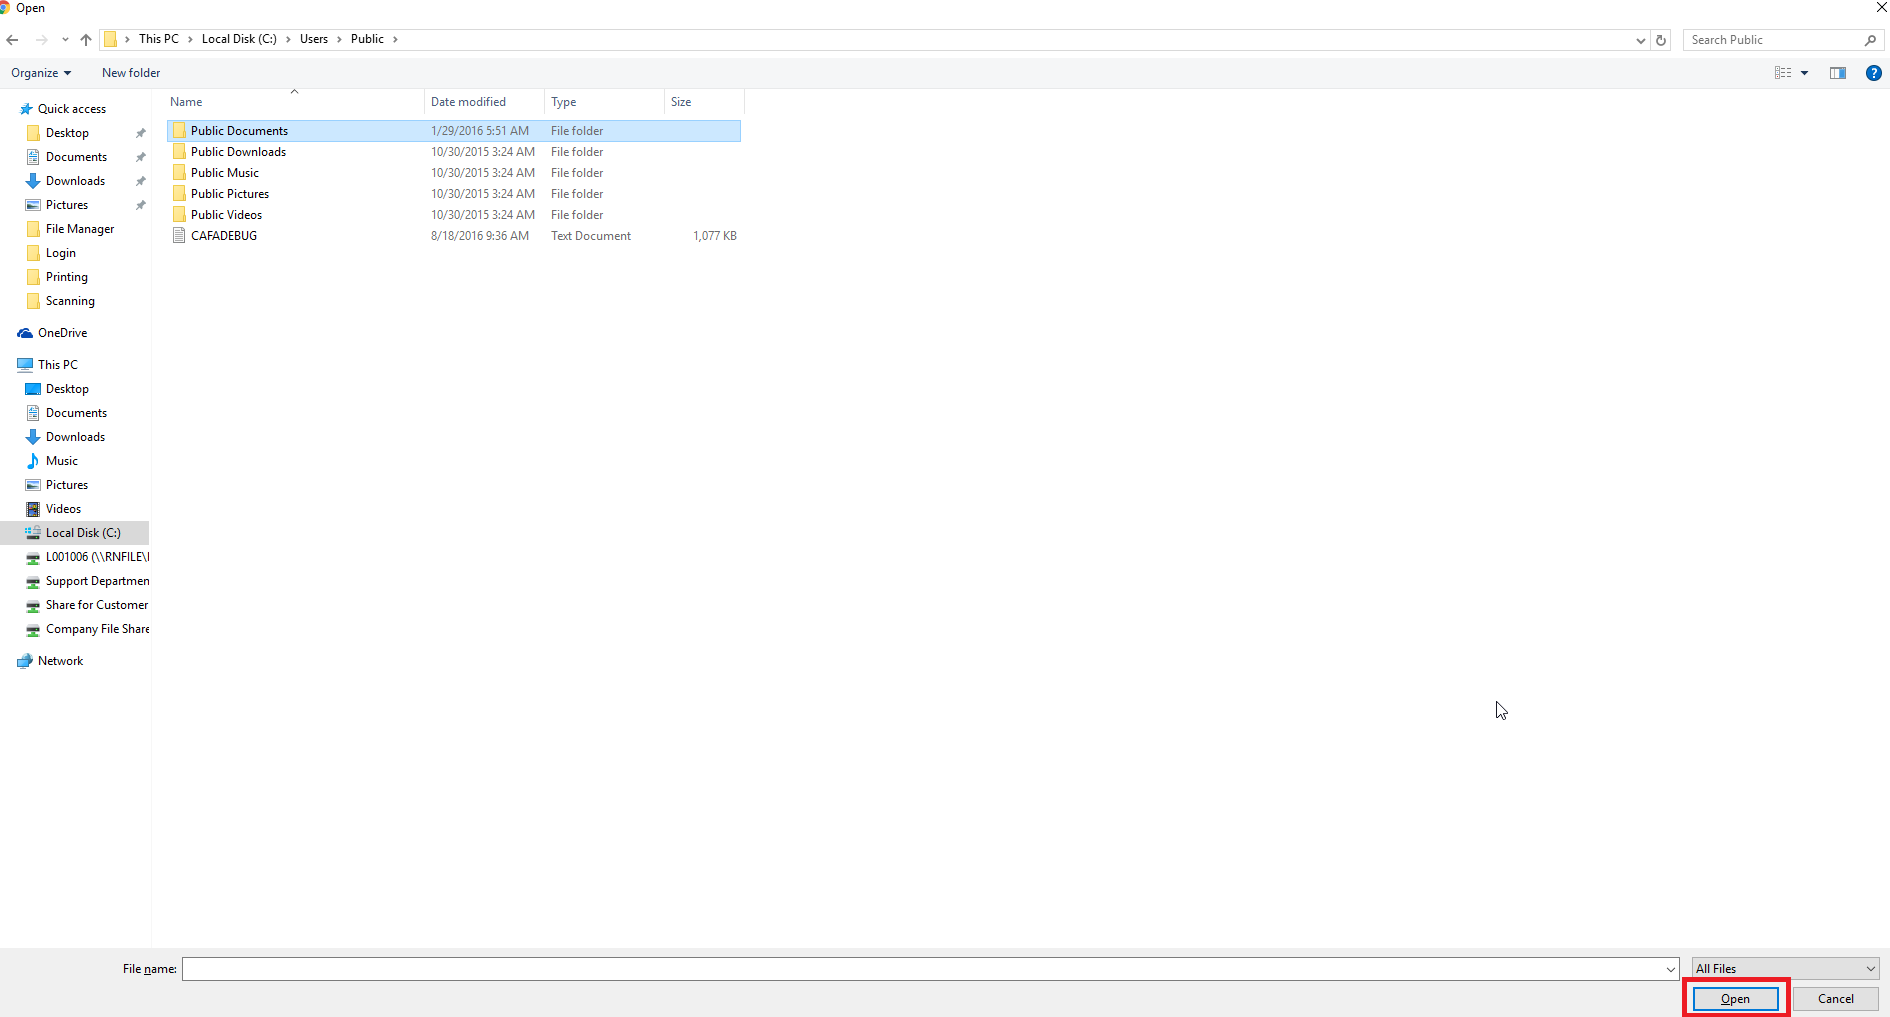
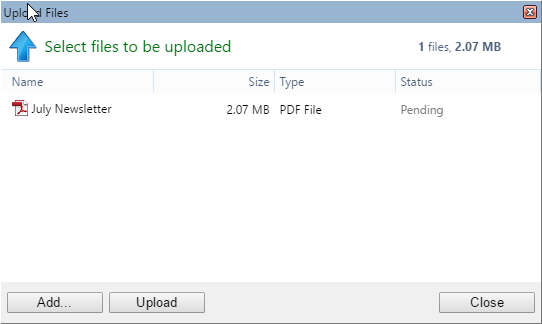
- Provide you an opportunity to upload any files that need to be present in the Right Networks environment (this step can be skipped and the files can be uploaded at a different time using the Right Networks File Manager (see below).
To install the Setup Wizard:
- The link to download the Setup Wizard can be found in two places:
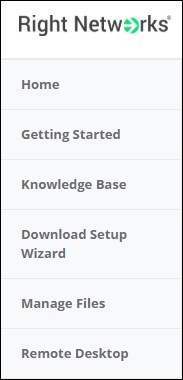
- From the Right Networks My Account portal, in the left-hand sidebar:
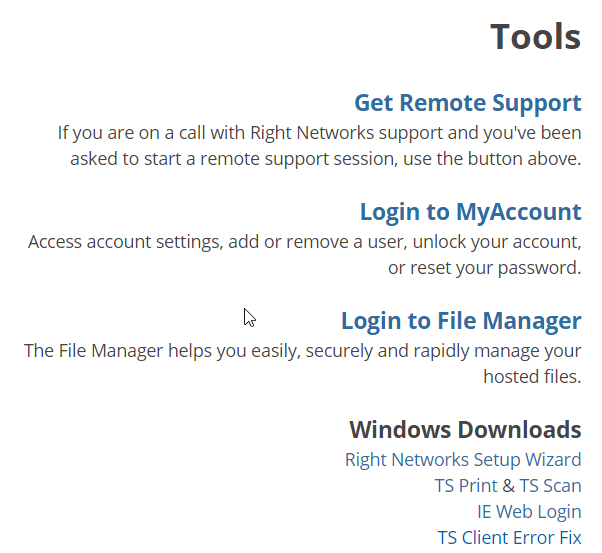
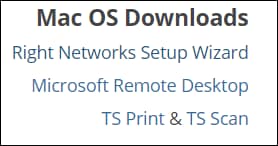
- From Right Networks Help, on the right-hand side of the page under Tools and Mac OS Downloads.
- On your keyboard press ⌥+⌘+L to open your Downloads folder.
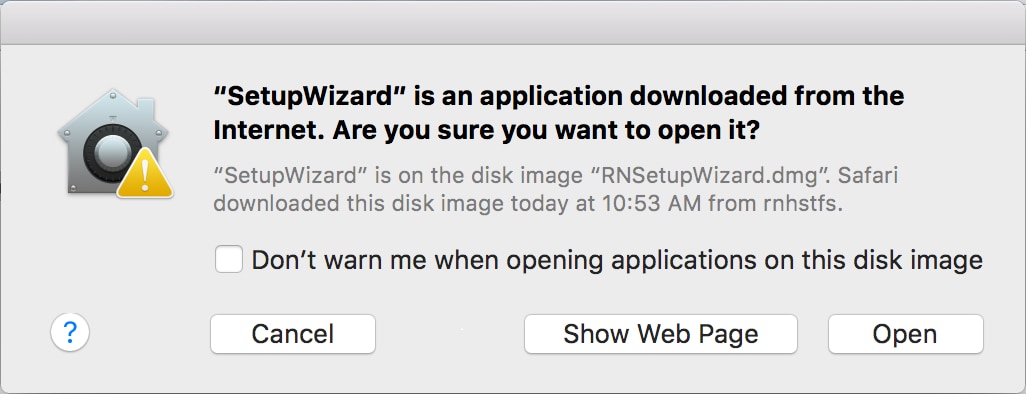
- Run SetupWizard.dmg
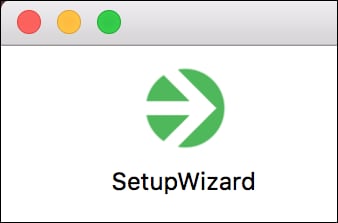
- Click Open.
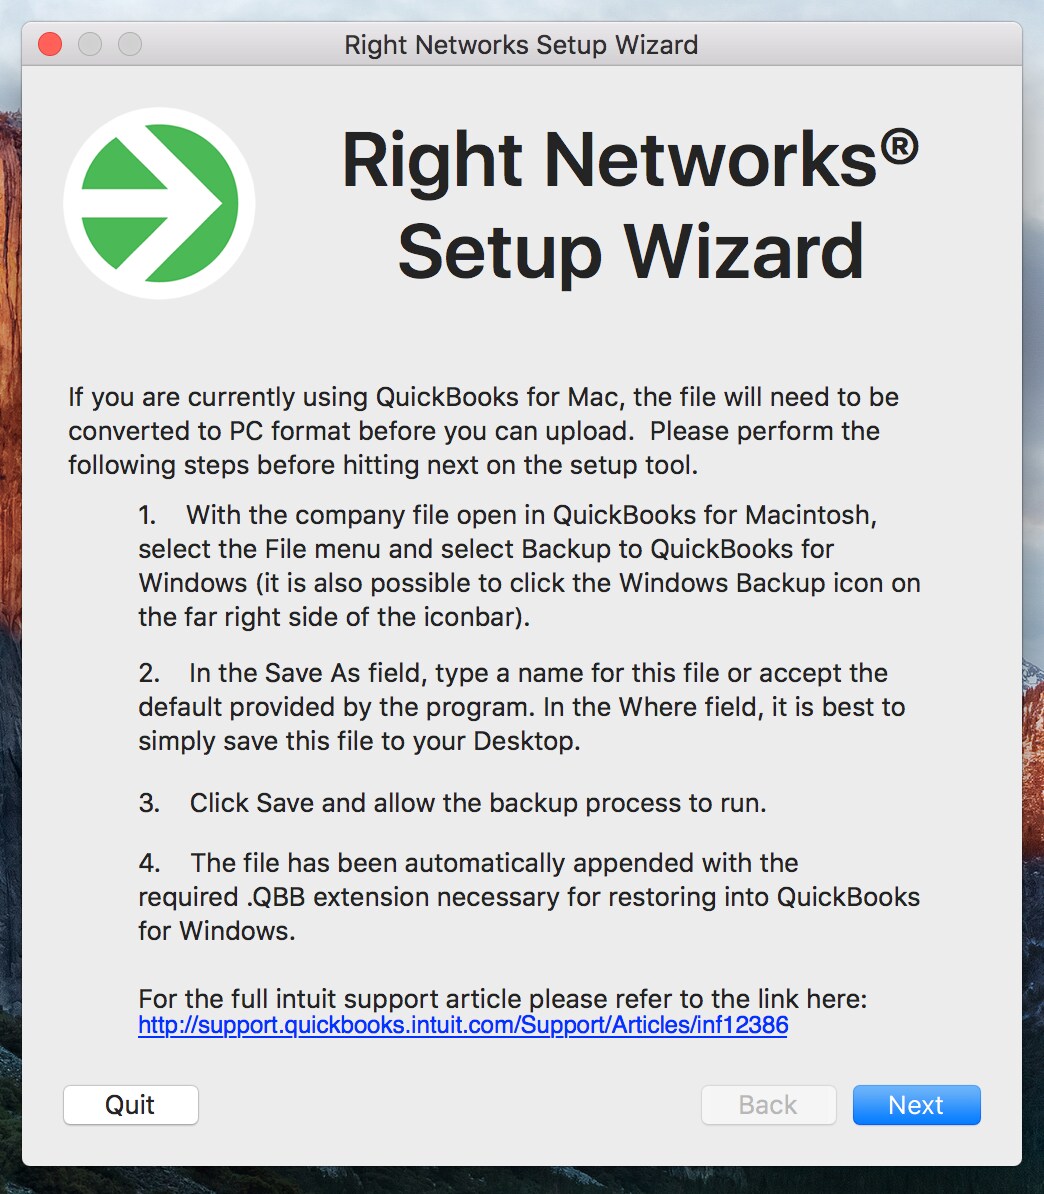
- This screen coveres QuickBooks, click Next.
- The Setup Wizard will perform some preliminary checks to make sure you will be able to log in.
- It will check whether the Remote Desktop port (3389) is open in your firewall.
- It will check for Remote Desktop or Citrix connections that are currently active.
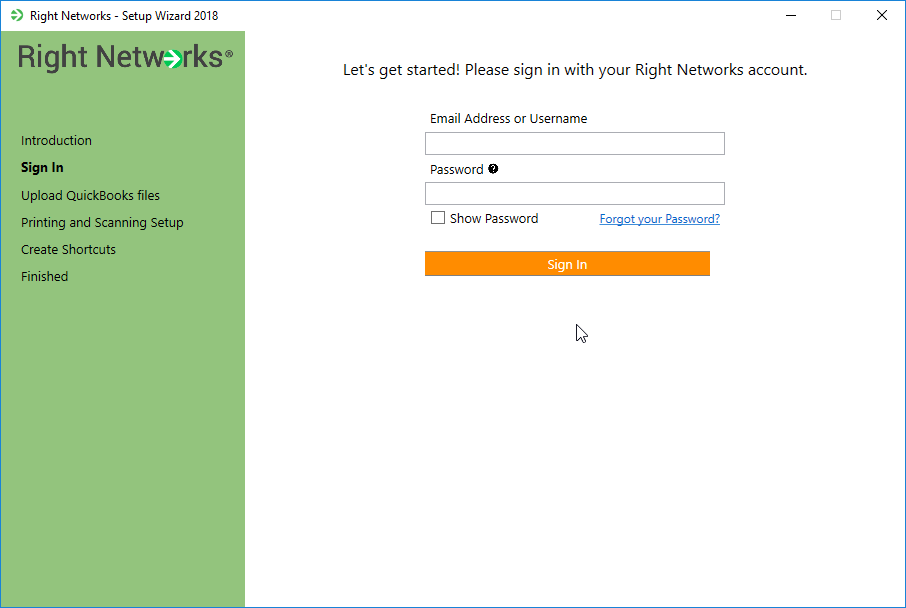
- Answer the first two questions No and enter your Username and Password.
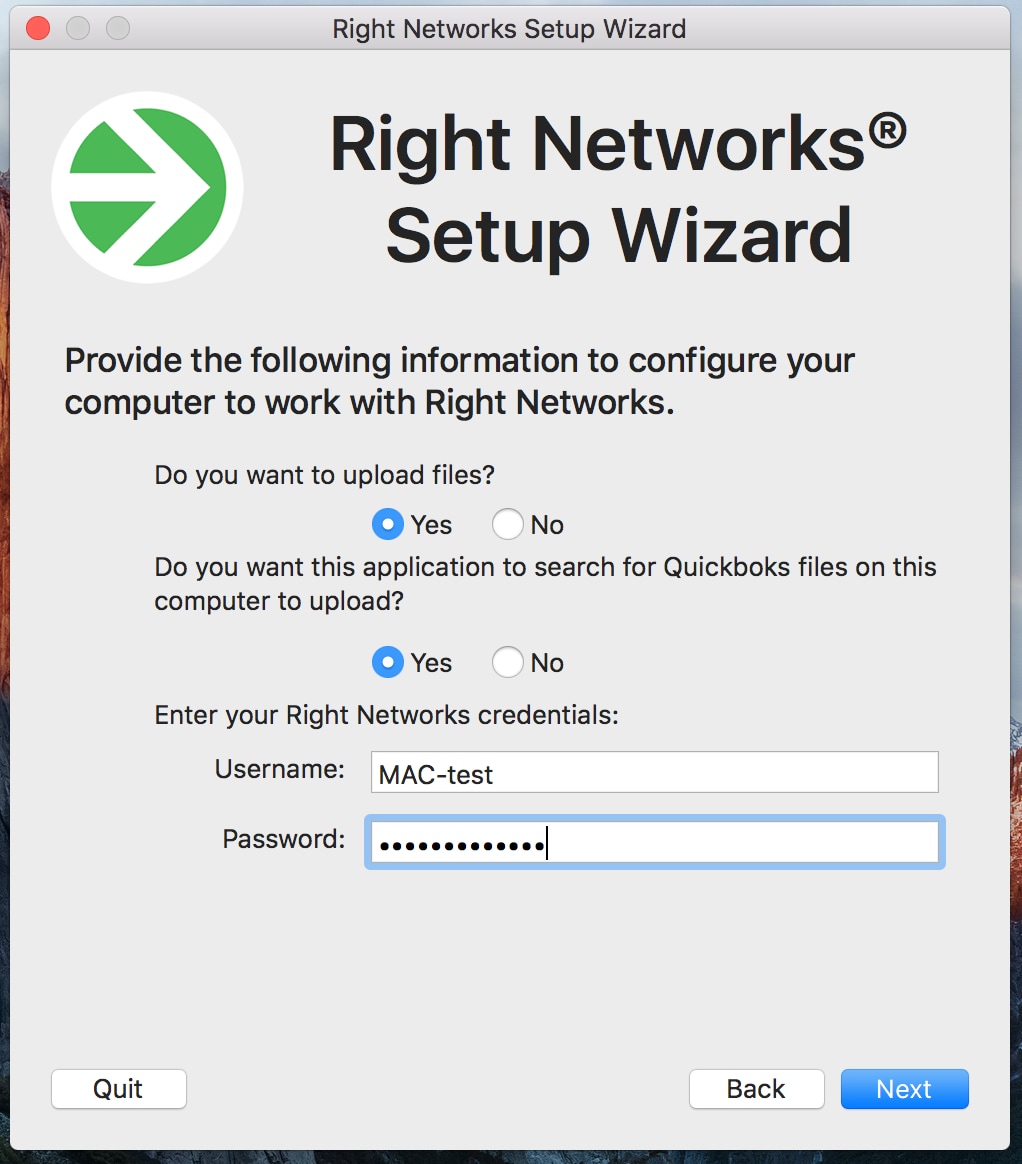
- Click Next.
- If you receive an error message indicating that you do not have permission to log in, or an "object reference not set to an instance of an object" error message, check Right Networks My Account portal to make sure you have a hosting bundle package attached to your username.
- The final Setup Wizard screen will complete your setup:
- Configuring Desktop Shortcut places a pre-configured Remote Desktop shortcut on your local desktop.
- Configuring Printer Support indicates that TSPrint is being downloaded and installed. This will allow you to print to local computers from the remote environment.
- Configuring Scanner Support indicates that TSScan is being downloaded and installed. This will allow you to scan from local scanners into the remote environment.
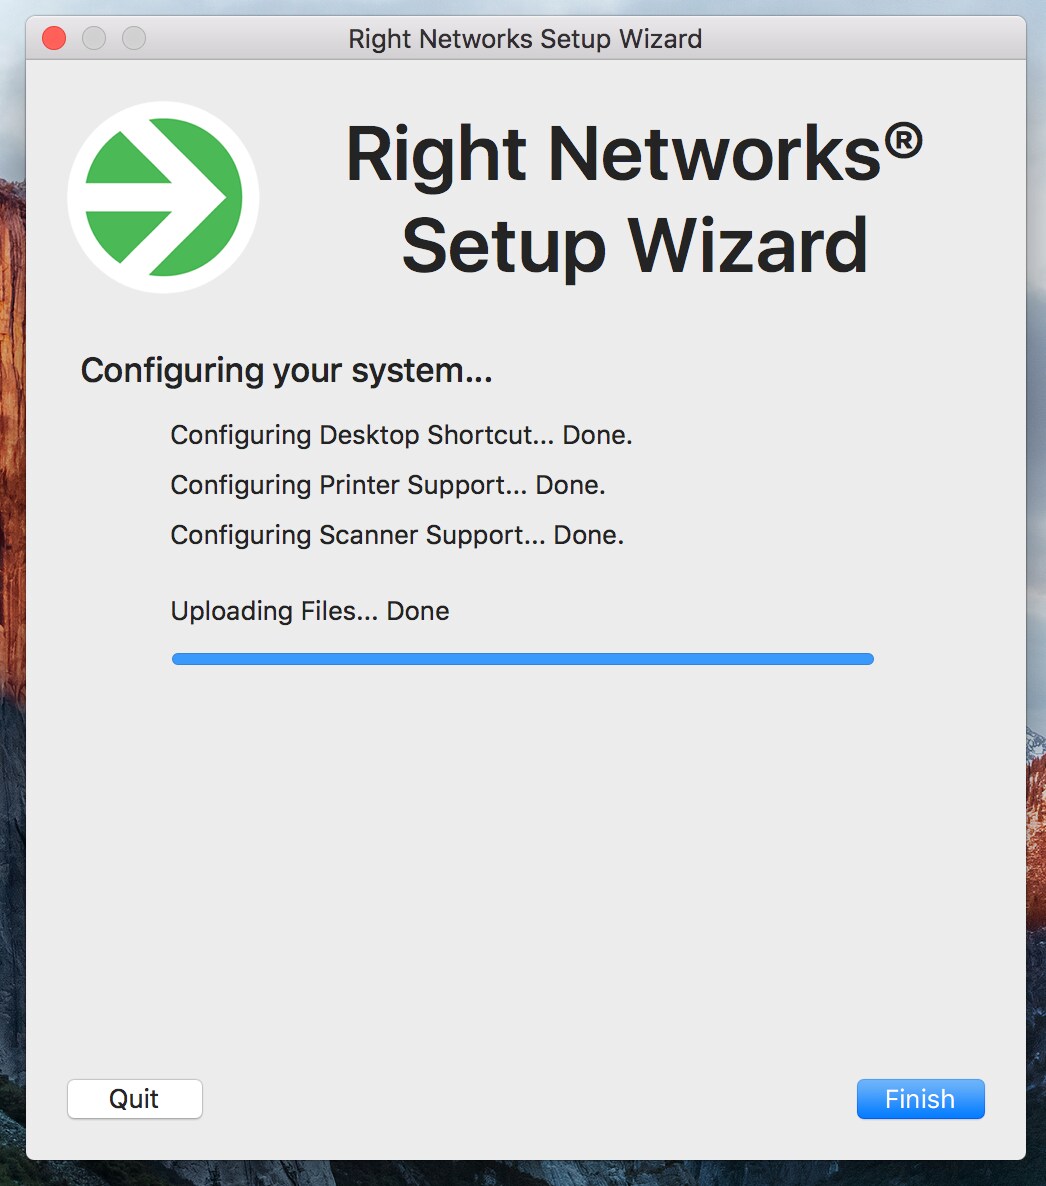
- Click Finish when done.
- If not previously installed, you will need to install the Windows Remote Desktop client on your Mac. Click OK.
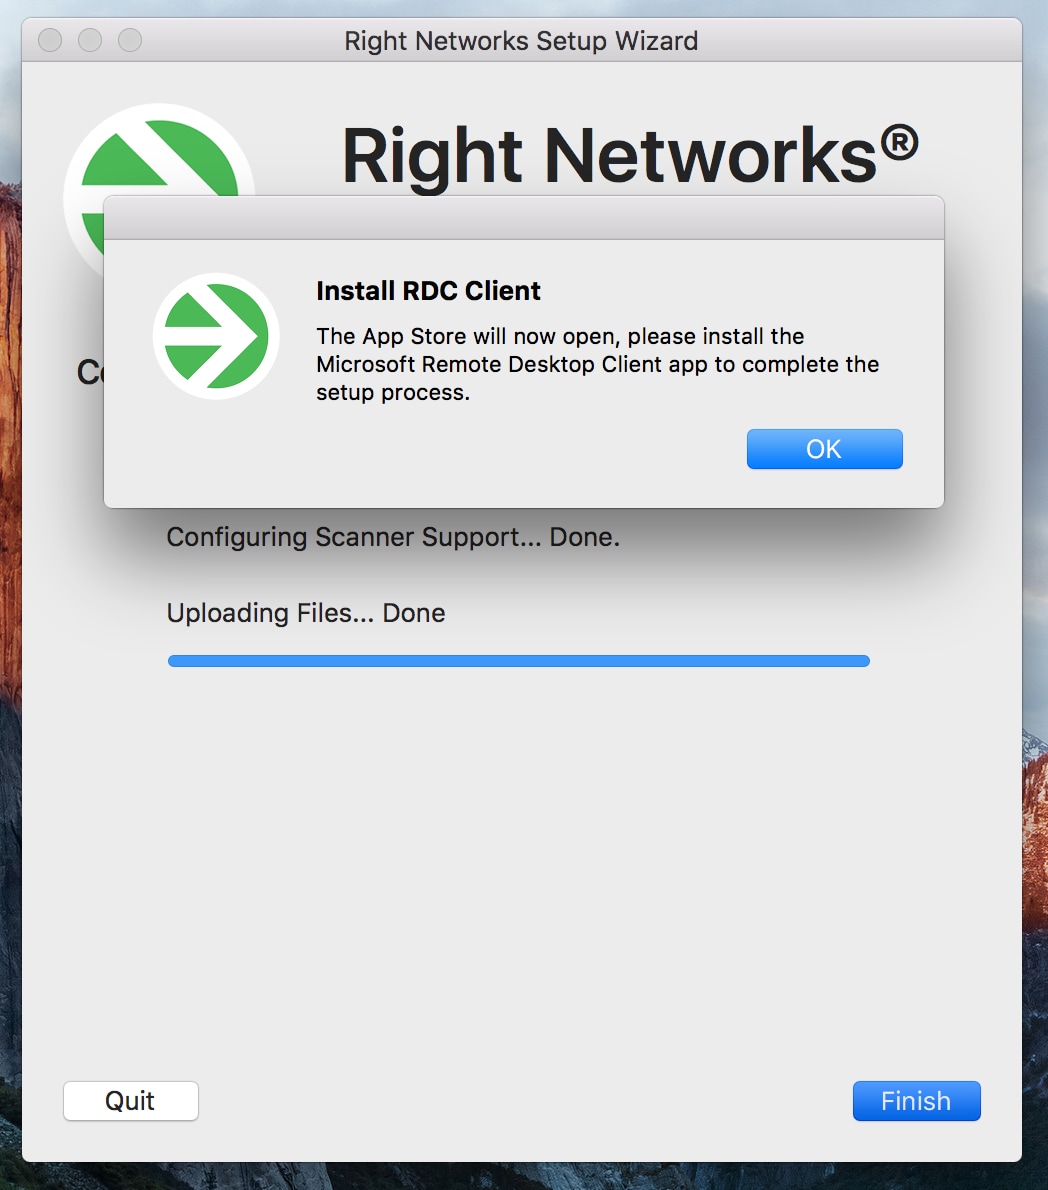
- This opens the App Store and presented with the download option for Microsoft Remote Desktop 10.
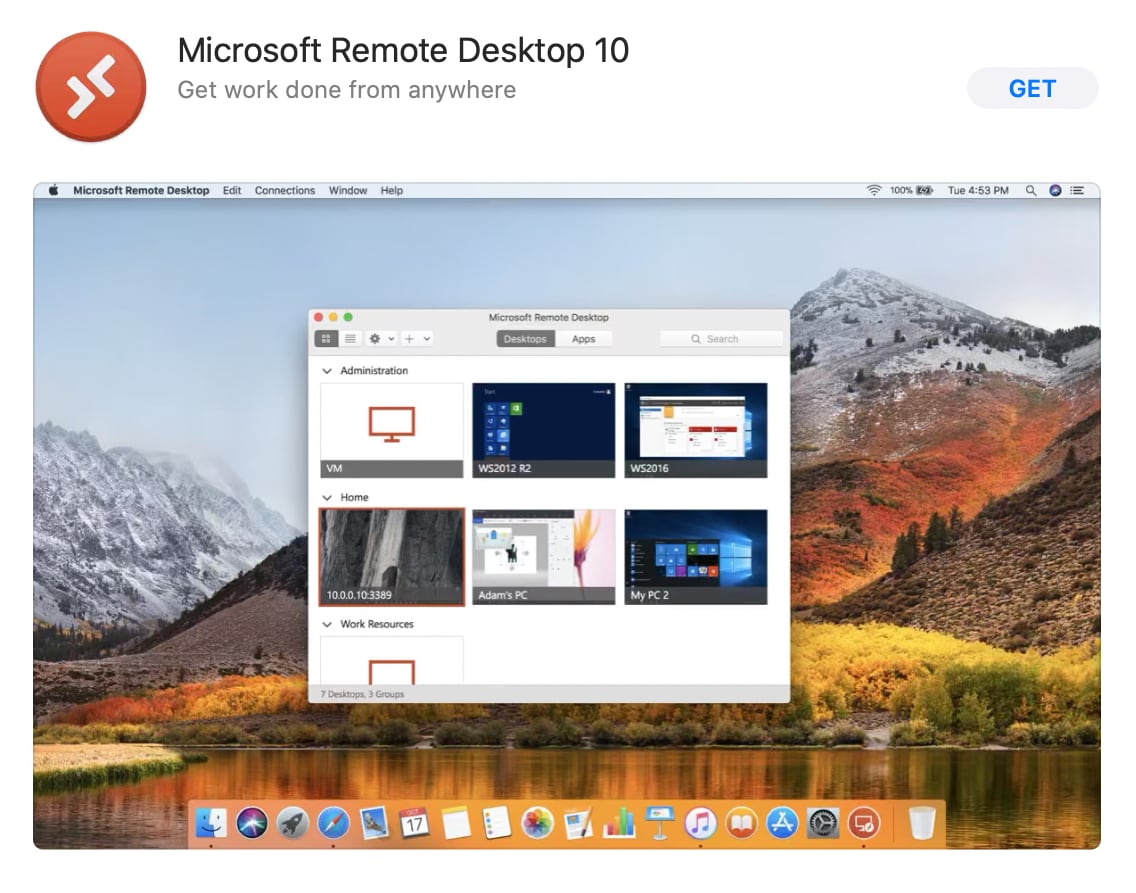
- Click GET to install it.
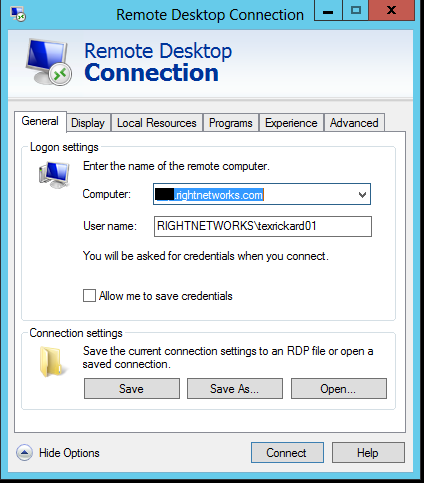
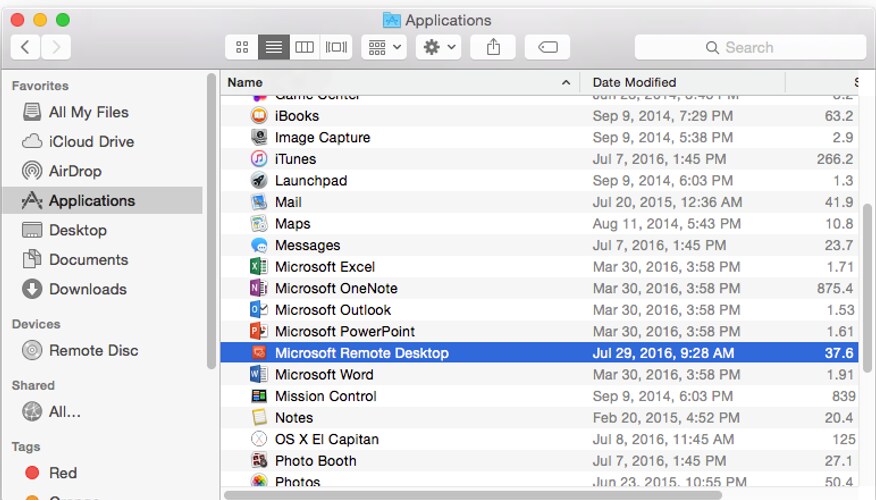
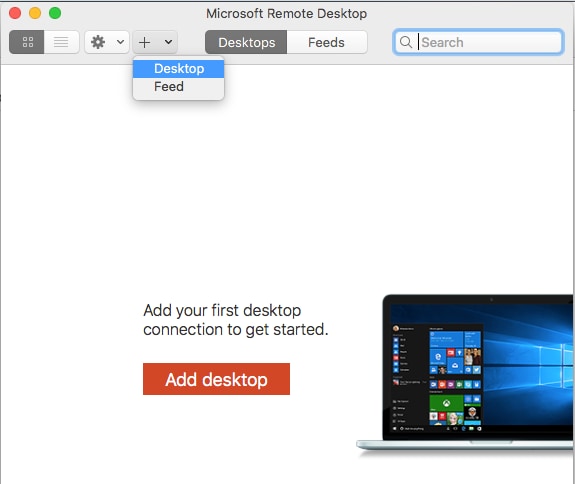
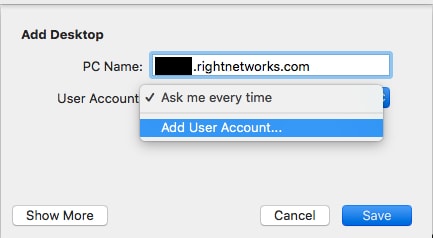
- Open up the Microsoft Remote Desktop Client and you'll see your profile in the list – this is your Remote Desktop profile. Double click on it to connect to your Right Networks hosted desktop.
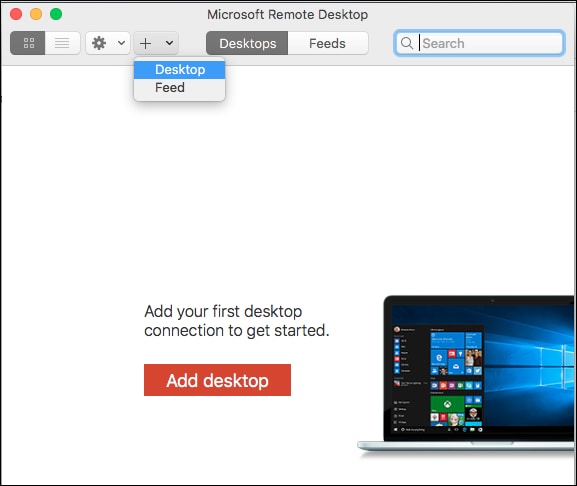
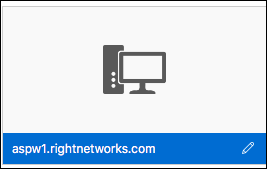
- The shortcut itself will display in the app shown above and will look like this:
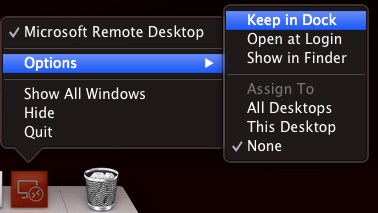
- While the app is running, it will appear as an icon in your dock. We recommend pinning it permanently to the dock by right-clicking on the icon and select Keep in Dock.
Manually setting up Right Networks if the Setup Wizard fails.In rare cases, you may not be able to run the Setup Wizard on a Windows computer, typically because the local IT policies prevent it.We can still set up your environment with a manual setup. Please complete the steps below for your operating system:
Step one for Windows - Setting up the printer and scanner access:
- Click here to open the Right Networks Support Site.
- Click Get Support in the upper right.
- Find the Windows Downloads section.
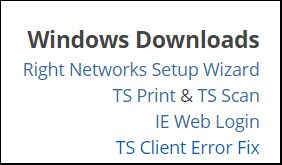
- Click on TS Print.
- Run the downloaded file to install the components.
- If you have a scanner attached to your computer and may need scanning ability click on TS SCAN.
- Run the downloaded file to install the components.
Transferring files to the Right Network Hosted Environment through File Manager
Extracting the zipped folders
Once the data has been uploaded to the hosted environment it needs to be extracted before you can restore it to your tax software.
- Log into your Right Networks Hosted Environment.
- Open your I: to find the uploaded zipped folder.
- Right-click on the zipped folder and choose Extract All....
- Repeat the extraction process for each year uploaded.
Restoring client files and options into your tax software in Right Networks
For LacerteThis section will help you restore the options and client data from the newly extracted zip folders.
- Close all years of Lacerte.
- Open your I:
- Open the extracted folder for the year you want to restore. This will have the format of YYtax-20YY-MM-DD.
- Highlight all the folders within the folder.
- Right-click on the folders and choose Copy.
- Go back to the I:
- Open the Lacerte folder.
- Open the YYtax folder where the year matches the year you opened in step 3.
- Right-click in the folder and choose Paste.
- When prompted, choose to Replace the files in the destination.
For ProSeriesBefore you start make sure ProSeries is up to date and you have installed all the states you complete tax returns for.
To check your state selections:
- Open ProSeries.
- From the Update menu, choose Select and Download New Products.
- Check any state that you need.
- Choose Next to download and install the states.
Once the updates are complete you want to restore the client files from the newly extracted zip folders.

The ProSeries Task Scheduler will not run in the hosted environment causing automatic updates to not function. All updates must be done manually through the Update menu in the software.
- Open ProSeries.
- From the File menu, select Client File Maintenance, then click Restore.
- Press the Set source directory button and find the location of your backed up files.
- Select the Type of return to be restored.
- Select the client files to be restored. If you want to restore all files, use the Select all button.
- Review the path specified for Set target directory. The default location should specify your ProSeries data folder. If you want to restore clients to a different location, use the Set target directory button to change the destination folder.
- Click on Restore client(s) to begin.


