Using eSignature Batch Send in Lacerte
by Intuit•9• Updated 4 months ago
Before you start:
- You must select at least two clients to use Batch Send.
- The maximum number of clients you can include in one batch is 100.
- Selected clients must have a first name, last name, and email address entered in Screen 1. See below for where to enter the required info in business modules.
- The same documents will be sent to all clients in a batch, so they should never include private information.
eSignature Batch Request
eSignature Batch Request allows you to request signatures on documents you need to send out in masse to your clients, like engagement letters. If you need to send an 8879 or other document with sensitive information, see Using eSignature in Lacerte.
To use eSignature Batch Send:
- From your Clients list, highlight the clients you want to include.
- You must select at least 2 clients, and no more than 100.
- Select the
 eSignature Batch Send icon on the toolbar menu.
- Or select the E-File menu at the top of Lacerte, then choose Intuit eSignature and select on eSignature Batch Send.
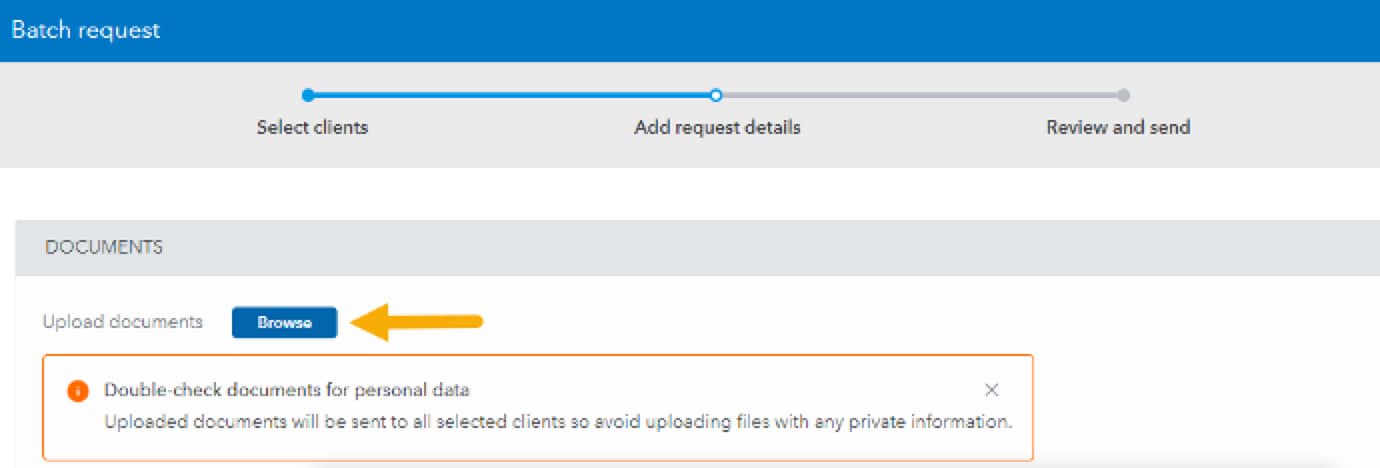
- On the Add Request details screen, Browse to attach the documents you want to send. You can only attach PDFs that aren't password-protected.
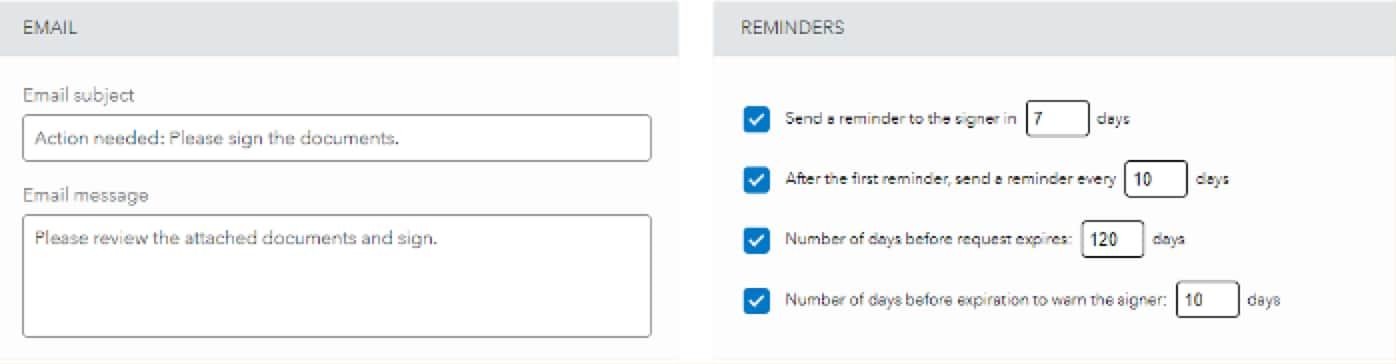
- Modify the email text and configure the reminder settings for this batch.
- Select Next to continue to the review screen.
- Review and confirm recipients, documents, and reminder settings for this batch.
- Before continuing, verify that the attached documents don't include personal or private information. You can select any document here to view it.
- Check the box to confirm that These documents can be sent to all selected clients because they do not contain personal or private information.

- Press Continue on DocuSign to open DocuSign and insert signature tags on the documents.
- If this is your first time using eSignature Batch Send, there is an option to save the current configuration as a template.

- Enter a template name and select Save if you'd like, or press No, thanks.
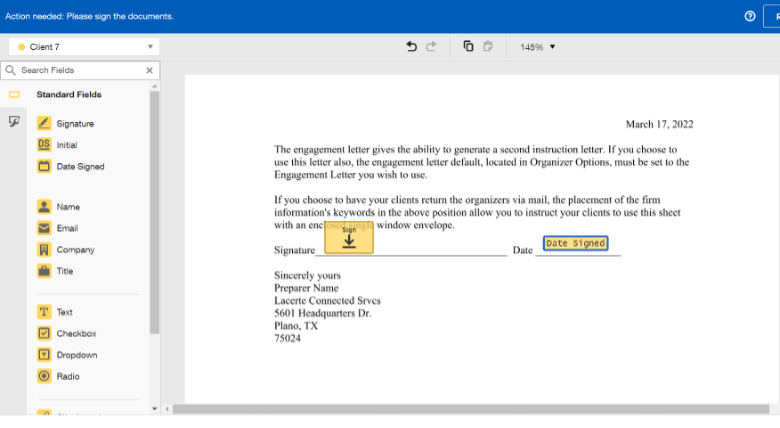
- DocuSign will open in your web browser, where you can insert the signature tags.
- Drag-and-drop the Signature and Date Signed tags from the panel on the left to the desired location on the page.
- Use the Name tag to include the client's name anywhere you wish to personalize the document.
- When you're satisfied with the request, press Send on the bottom right.
To view or use saved templates:
If a template is saved, it can be selected for future batch eSignatures on the Add Request details screen.
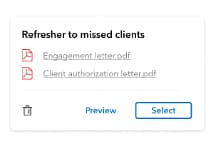
Saved batch templates will contain documents, email, and reminder settings.
![]() You can't edit existing batch templates. To make changes, you'll need to create a new template. Obsolete templates can be deleted by the firm admin or the user who created them.
You can't edit existing batch templates. To make changes, you'll need to create a new template. Obsolete templates can be deleted by the firm admin or the user who created them.
Batch templates are saved to your firm's eSignature account, so all users can see the templates others created. Note that these are stored separately from the email templates you might use when sending one individual eSignature request.
Common questions about batch eSignatures
Can I use Knowledge-based Authenticiation (KBA) in batch mode?
No, KBA is unavailable in batch mode.
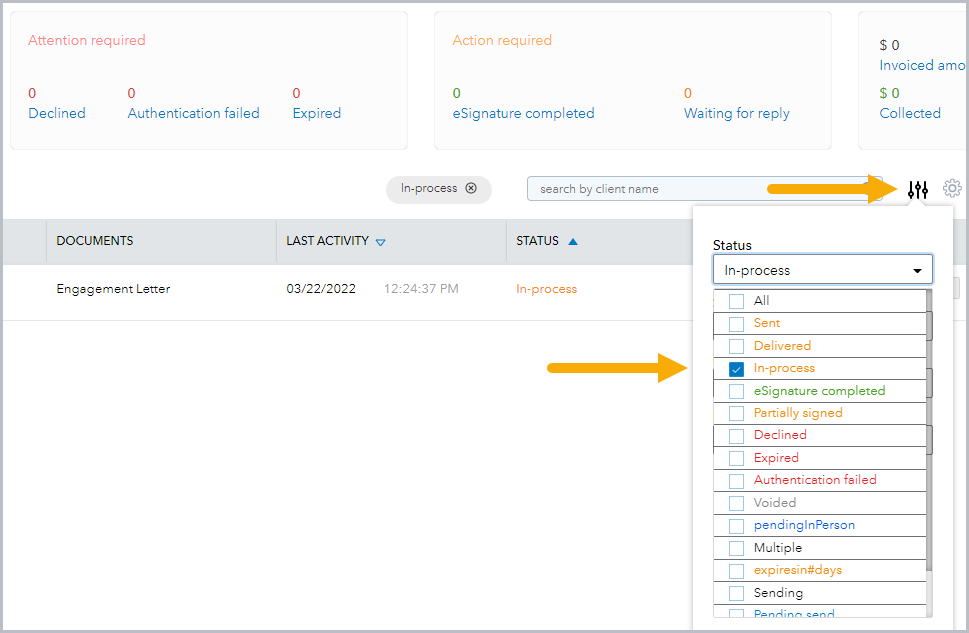
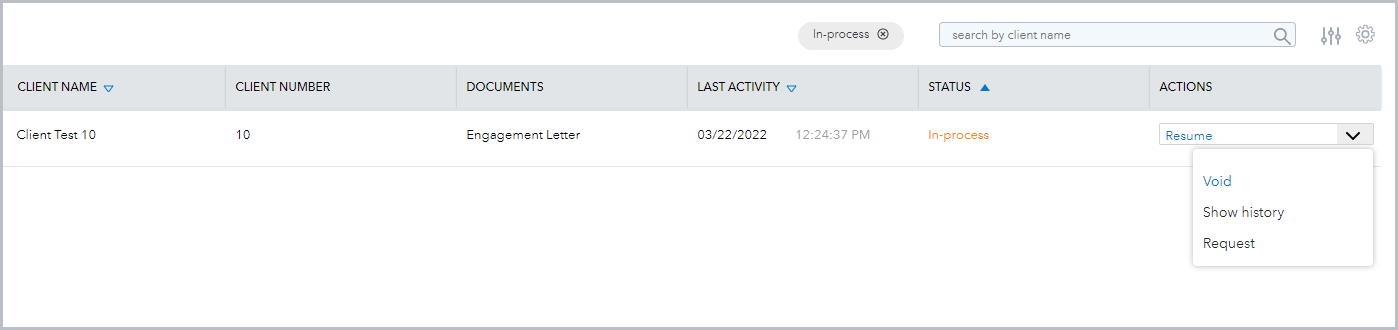
How do eSignature statuses work for batch send?
Once you send an eSignature batch, the eSig Status column on your Clients list won't immediately show Sent for all clients in the batch. Go to the eSignature Dashboard tab in Lacerte to trigger the update.
How many credits do batch requests use?
One credit will be used for each client you include in the batch request. For example, when sending requests to 15 clients, requires an eSignature balance of at least 15 credits.
Can I batch-send in business modules?
Yes, eSignature Batch Send is available in all modules that support Intuit eSignature.
Required info for business clients
It's important to ensure the recipient's name and email address have been entered correctly in the client Detail before including them in a batch request. Make sure the signer's information has been entered in the following location:
- 1120 - Screen 1, Primary Contact and E-mail address
- 1041 - Screen 1, Fiduciary name and E-mail address
- 1065 - Enter the partner's email address on Screen 7; then verify the correct partner number is entered on Screen 1 as the Partnership rep partner #.
- 1120S - Enter the shareholder's email address on Screen 5, then verify the correct shareholder number is entered on Screen 1 as the TMP Shareholder #.
- 990 - Screen 1, Primary Contact and E-mail address
More like this
- Using eSignature Batch Send in ProSeriesby Intuit
- Using eSignature in Lacerteby Intuit
- Using eSignature in ProConnect Taxby Intuit
- How to use eSignature in ProSeriesby Intuit
